The Virtual Microscope
Part 1: The parts of the microscope
Diaphragm
Light source (lamp)
Fine-adjustment knob
Coarse-adjustment knob
Body tube
Objective lens
Revolving nosepiece
Condenser lens
Eyepiece
Arm
Base
Stage and clips
Select a part of a microscope by choosing its name or by direct selection on the model to learn more about it.
Part 2: Practice
Procedure (red blood cell)
- Turn the light on under your microscope.
- Load the the human red blood cell slide by selecting a slide button. This is an example of an animal cell.
- Use the coarse-adjustment knob to focus the slide as best you can.
- Then use the fine-adjustment knob to bring the image into sharp focus. You are actually viewing many red blood cells.
- Select the 100 x magnification (100×).
- Use the coarse-adjustment knob to focus the slide as best you can.
- Then use the fine-adjustment knob to bring the image into sharp focus. You are actually viewing many red blood cells.
- Select the 1000 x magnification (1000×).
- Use the coarse-adjustment knob to focus the slide as best you can.
- Use the fine-adjustment knob to refocus the slide under the higher magnification.
- Turn on the scale and determine the field diameter at 1000×. For this microscope, the field diameter at 40× is 2 mm. To simplify your calculation, assume that the ocular scale occupies the whole field diameter so that the 10 ocular scale divisions equal 2 mm under 40×.
- On a piece of paper, make a biological drawing of a red blood cell as seen through the microscope under 1000× magnification. Because red blood cells are so small, you will not be able to see many internal cell details at this magnification, so just draw what you can see. Estimate the size of the cell.
Revolving nosepiece
Objective lens
Stage and clips
Condenser lens
Diaphragm
Eyepiece
Body tube
Coarse-adjustment knob
Fine-adjustment knob
Arm
Base
Light source (lamp)
0
1
2
3
4
5
1
2
3
4
5
Slide 1
40x 100x 1000x


Part 2: Practice
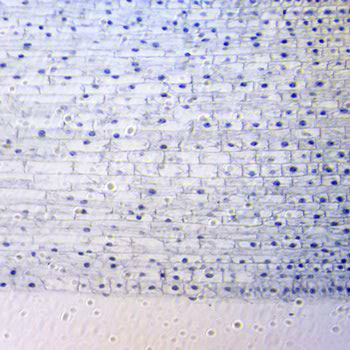
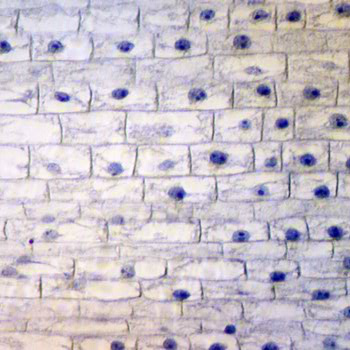
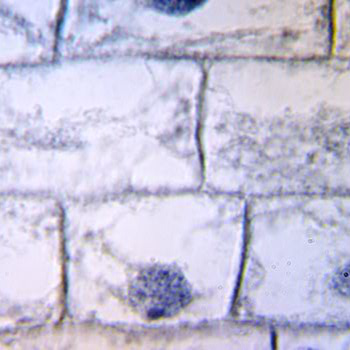
Procedure (onion skin cell)
- Select the three small images below to view cells at low (40×), medium (100×) and high (1000×) magnification.
- On a piece of paper, draw one of the onion skin cell samples under 1000× magnification. You will only be able to see certain large structures at this magnification (cell wall, membrane, nucleus, vacuole, and so on) so draw what you see.
- Estimate the approximate size of the cell by how large it seems in relation to the field diameter.
40x 100x 1000x


Part 3: Troubleshooting
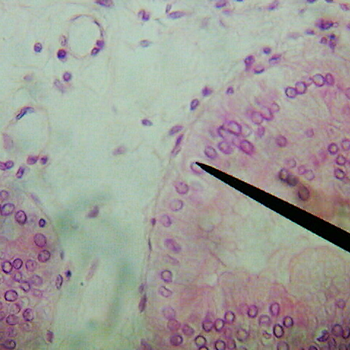
Practice using the microscope to see slides. There are four slides to choose from and you may practice as much or as little as you wish.
Observe the specimen at 10x, 40x and 1000 x magnification.
Slide 1
Observe the specimen at 40x magnification.
Slide 2
Observe the specimen at 40x magnification.
Slide 3
Observe the specimen at 100x magnification.
Slide 4
0
1
2
3
4
5
1
2
3
4
5
40x 100x 1000x


Part 4: Recognizing cell features
Complete the statements.
You're right! Not quite. Let's take a look at that again.